Spray painting kitchen cabinets can transform them from drab and outdated to whatever style you’re after. Spraying cabinets often leads to a more uniform finish than rolling or using a brush, but you can ruin your paint job if you don’t do the proper prep.
Painting over dirty cabinets leads to poor paint adhesion, resulting in a discolored coat or rough spots on the surface.
Empty your cabinets and cover your cleaning area to protect your floor and surfaces from leaks.Detach and inspect cabinet doors and drawers for fixes.Clean and degrease with a Trisodium Phosphate(TSP) cleaner diluted with water. A mixture of warm water and mild soap also works as well.Don’t apply cleaners directly on the cabinet to prevent excess liquid from seeping into wood surfaces.Dampen a lint-free cloth with clean water and wipe all areas to remove residual cleaner. Allow the cabinets to dry before sanding.
Spray paint adheres better to a roughened surface than a smooth one. Sanding dulls the glossy finish of wood, so primers and paint stick better.
Here’s how to create a flat canvas for your paint when sanding your cabinets:
Choose the right grit: A medium to fine grit(100-220) sandpaper roughens your surfaces and removes any previous top coating.Fold the sandpaper to sand corners and the details on doors and drawers.Sand evenly in the direction of the wood grain.Wipe down cabinets after sanding to remove dust and debris. Use a clean, damp, or tack cloth and let all surfaces dry.
Remove all cabinet hardware, knobs, and handles before painting. Number each door or hardware as you detach it and put it in a small bag. Repeat this for all doors, drawers, and their respective hardware.
Overspray can ruin your floors, counters, and other items in the kitchen. Cleaning dry overspray requires specialized cleaning methods or hiring professionals, which increases the project’s total cost.
Cut costs by covering your floors and countertops using drop cloths, rosin paper, or newspaper to contain overspray. Secure the edges using masking or painter’s tape for total protection.
Move all portable items and tape poly sheeting over fixed appliances, windows, backsplash, and walls.
Use a low VOC paint on your cabinets if possible, and open windows for ventilation. Wear personal protective gear like respirators or masks, gloves, and safety glasses when painting. Take regular air breaks when priming and painting to reduce your exposure time to the fumes.
Priming creates a bonding layer that makes paint stick better to your cabinet surface. Primers also fill in blemishes and cover previous colors or stains, creating a flat surface to paint on.
Oil-based primers are the best for sealing kitchen cabinets with stains or discoloration, but they produce a strong smell and take longer to dry. Water-based primers have less odor and are ideal for cabinets in good condition. Shellac primers are suitable for cabinets exposed to odors or smoke because they adhere easily and dry fast.
Using excess paint on your cabinets may cause color variations and uneven surfaces. When the paint is too thick, it takes longer to dry.
Doors and drawers take the longest to paint, so start with them. Paint one coat on the inside and dry for one day. Paint the next coat and air-dry for another 24 hours. Repeat this for the front-facing sides. Use the drying periods to paint other cabinet surfaces, leaving each coat to fully dry.
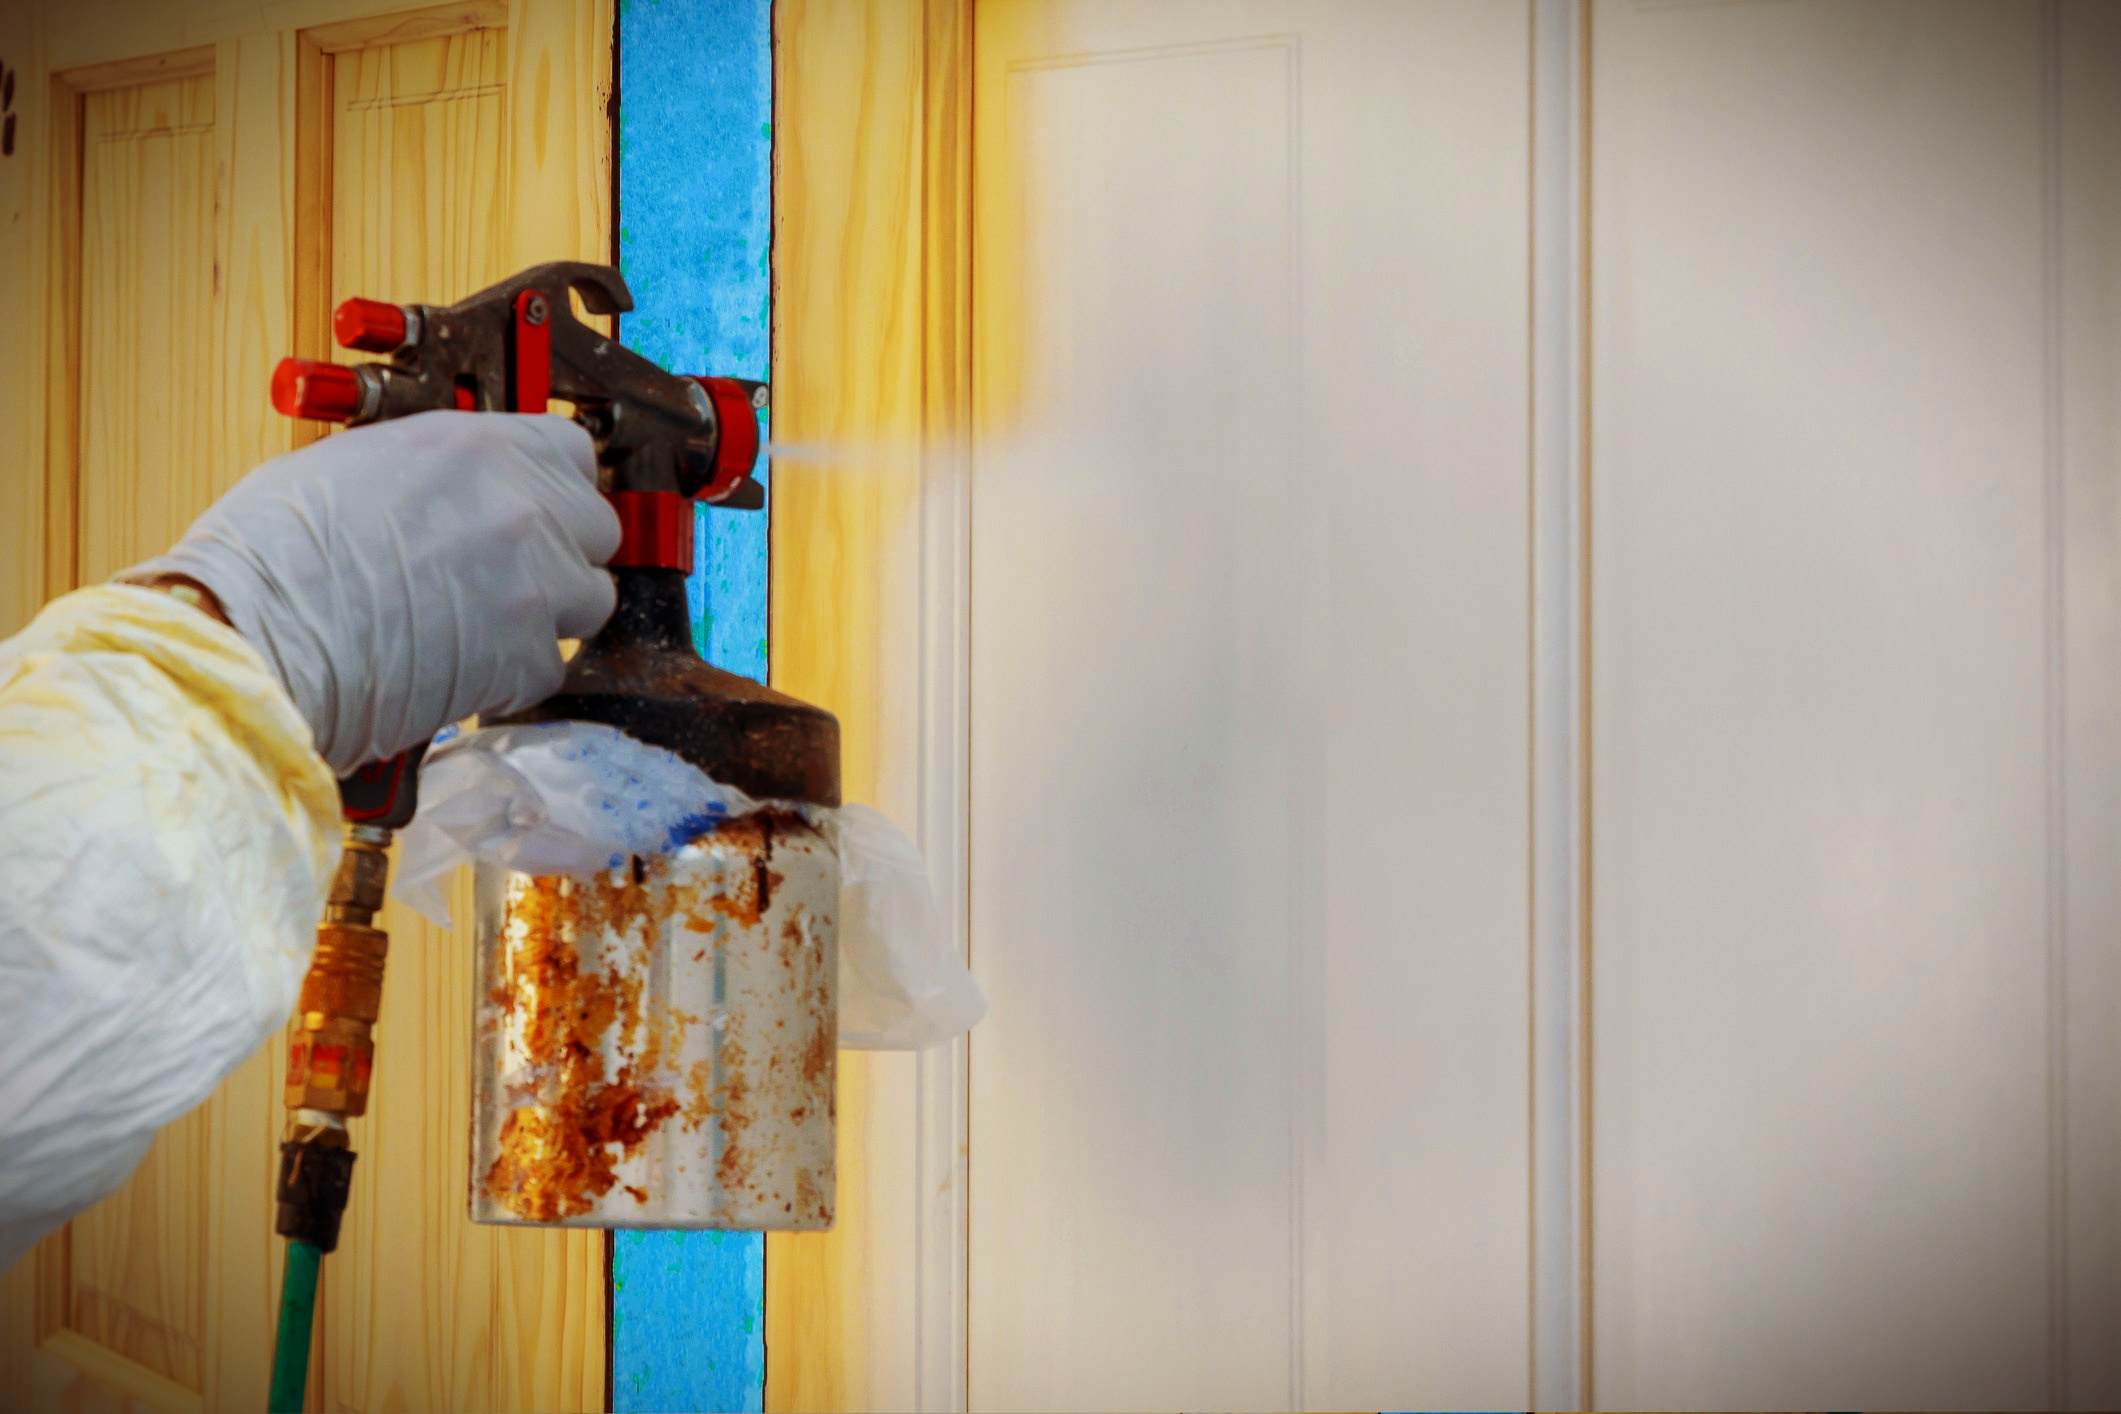
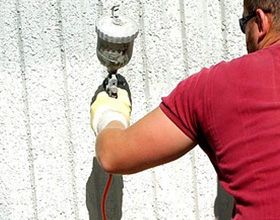
Factors like pressure, tip size, wire mesh blockage, solvent amount, and number of spray lines determine spray patterns. Spray your paint under high, constant pressure to prevent the orange peel effect and irregular paint bursts.
When spray painting, do it from a distance. Move fast, keep your hand still and your finger on the trigger always to eliminate runs and drips. For starters, practice on a board to perfect your technique before spraying your kitchen cabinets.
Paint needs at least 24- 48 hours to dry before re-attaching your doors and hardware. Interfering before it dries causes nicks and marks in your finish. To test if the paint is dry, lightly press the back of your hand or a fingernail on a small surface.
If the paint is sticky or forms a dent, it’s not cured yet. Dried paint feels solid and doesn’t leave a residue when touched. Let a previous coat completely dry first before applying the subsequent one. It ensures adhesion between layers is strong, preventing bubbles and peeling.
Avoid slamming or scratching the cabinet doors during the first week after painting to minimize scrapes. Some paints take up to 30 days to cure.
A clear coat provides an extra protection layer for the underlying paint against constant wear from daily use. It increases the longevity of your paint and makes cabinets easier to clean.
Clear coats offer a smooth and satin, matte, or glossy finish, enhancing the final paint job appearance. Apply the clear coat when your paint is dry, and surfaces are clean of dust and dirt.
Use quality brushes and applicators to prevent drips and sagging, and apply in thin layers. Check the manufacturer’s instructions for the number of coats to use and the drying time between.
Gisele Bundchen's contemporary twist on this emerging design trend is the talking point of her kitchen
Zendaya taps into the subtle power of this accessory to ensure her neutral living room is never boring
Amazon has become a go-to for chic home decor – here’s what we’re shopping from the 2024 Spring Sale
This designer's 'every seat needs a surface' rule has changed my living room layout forever – here's what I mean
5 designer Amazon storefronts that make shopping for stylish homeware so much easier
Joanna Gaines' 'mesmerizing' garden is the perfect example of how to grow cut spring flowers at home
Tan France opts for this stabilizing color palette to 'ground' his guest cottage, experts say
Shark's St Patrick's Day sale is here - and you can save $100s on vacuums and air purifiers
Matthew and Camila McConaughey's raw cabinets possess a texture and warmth that's replicable in our kitchens
DIY Concrete Countertop Desktop: A Step-by-Step How To Tutorial
No-Sew Thanksgiving Table Runner and Placemats
How To Build Useful Furniture Fast Using Hairpin Legs
Embroidered Throw Pillow – DIY Home Sweet Home
DIY Concrete Hexagon Coasters
Yarn Wall Hanging – DIY Fringe Art
How To Use Transfer Paper – DIY Festive Winter Tree Print Cushion
Mason Jar Centerpieces That Will Tickle Your Senses
Wire Key Holder For Wall – Budget DIY for Begginers
Thanksgiving Sign: DIY Wooden Gobble Gobble
 zpostcode
  Recruit
  weather
  mreligion
  Yellowpages
  sport
sport  constellation
  shopping
  name
name  game
game  directory
  literature
  Word
Word  tour
tour  furnish
  Lottery
  tftnews
  lyrics
  News
News  digital
  car
car  dir
dir  Edu
Edu  Finance